
Print & OOH Studio generates correctly specified, print-ready proofs for physical formats — billboards, posters, flyers, magazines, newspapers, and banners, plus in-store POS displays and standees. Open it from AI Designer → Apps → Print & OOH.
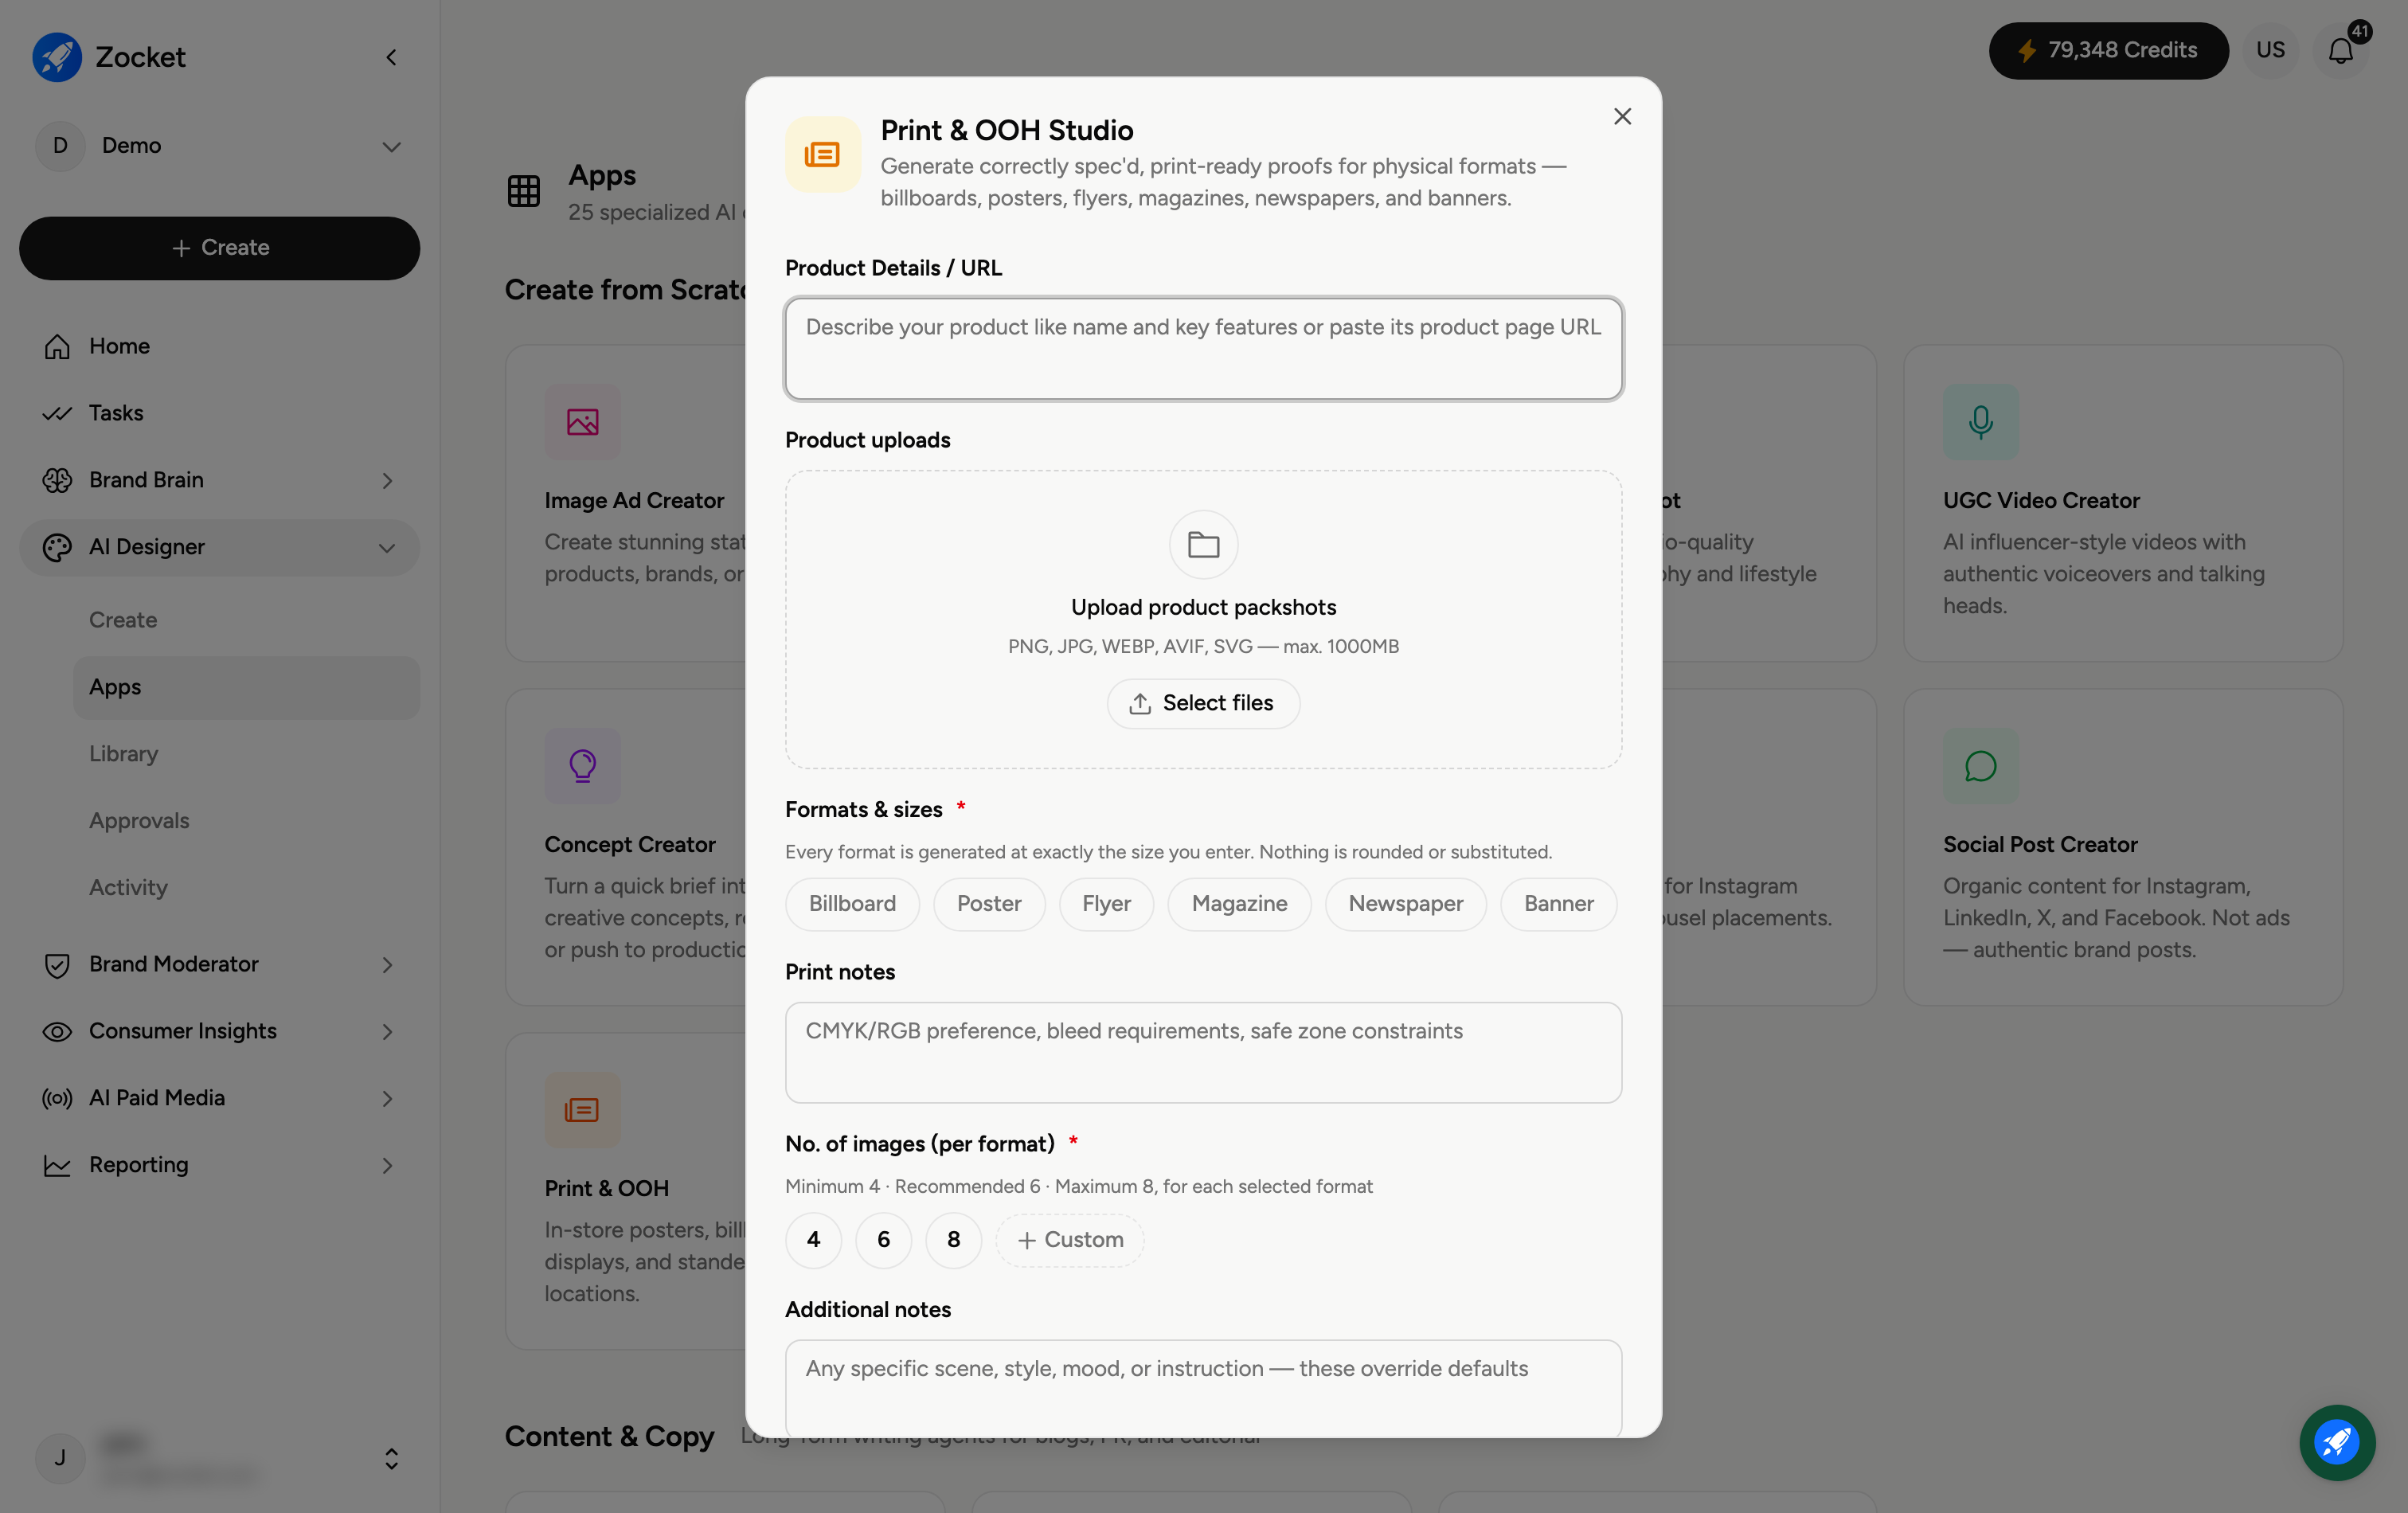
Step 1 — Describe your product and format
Enter Product Details / URL (required) and Upload product packshots if you have them. Then choose a Format (required) — Billboard, Poster, Flyer, Magazine, Newspaper, or Banner.
Step 2 — Set trim size and print notes
Trim sizes — A4, A3, A2, 6x4ft, or Custom (the finished physical size).
Print notes — the technical details a printer needs: CMYK or RGB preference, bleed requirements, and safe-zone constraints.
No. of images (required) — how many proofs to generate.
Step 3 — Generate
Generate the proofs. It opens in Create, where you refine in chat, and produces print-ready files (with correct bleed and colour) saved to your Library.
Frequently Asked Questions
What does "print-ready" mean here?
The output is specified for physical printing — correct trim size, bleed, and colour handling — so it can go to a printer without extra rework.
What are "bleed" and "safe zone"?
Bleed is extra artwork past the trim edge so there's no white border after cutting; the safe zone keeps important text and logos away from the edges. Put your requirements in Print notes.
Should I choose CMYK or RGB?
Most physical printing uses CMYK; digital and large-format screens may use RGB. State your preference in Print notes — if unsure, ask your printer.
What trim size for a billboard?
Use 6x4ft or a Custom size to match the specific placement; A4, A3 and A2 are for posters, flyers, and print pages.
Where do the proofs go?
To your Library (AI Designer → Library) for download and sending to print.